

How to assemble a roll-up Banner
Roll-up banners are an essential marketing tool that can be used to promote your brand, product, or service. These banners are easy to assemble, and they provide a great way to grab the attention of your target audience. However, if you are new to roll-up banners, the assembly process can be daunting. This blog post by Print Shop will guide you through the step-by-step process of assembling a roll-up banner.
Step 1: Unpacking
The first step is to unpack the roll-up banner from its carrying case. The carrying case will typically have three components: the base, the pole, and the banner itself. Make sure that all components are present and in good condition. Also, make sure that you have a level surface to work on.
Step 2: Assembling the Base
The base is the foundation of the roll-up banner. To assemble the base, follow these steps:
Lay the base on a level surface.
Attach the pole to the base by inserting the pole into the hole in the center of the base.
Twist the pole clockwise until it is securely attached to the base.
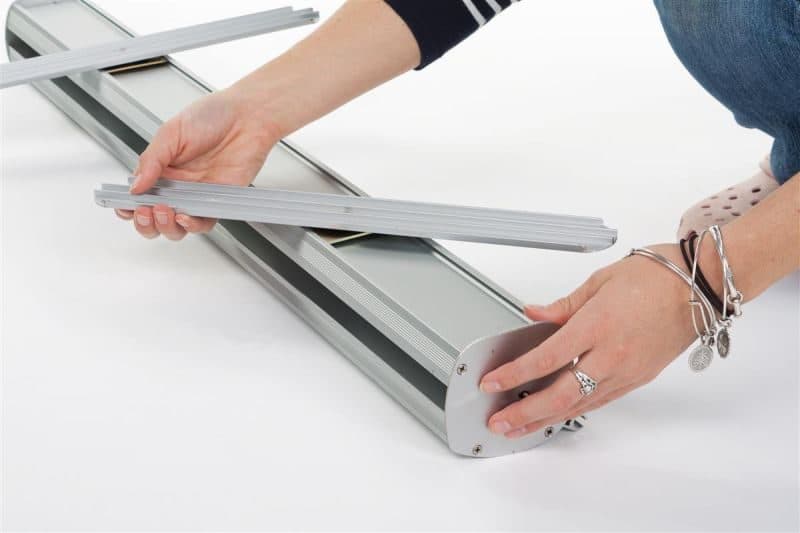
Step 3: Extending the Pole
The next step is to extend the pole. To do this, follow these steps:
Hold the top of the pole with one hand and the bottom of the pole with the other hand.
Gently pull the pole upward until it is fully extended.
Lock the pole into place by twisting it clockwise.
Step 4: Installing the Banner
Now it’s time to install the banner. To do this, follow these steps:
- Remove the banner from its carrying case.
- Unroll the banner and attach it to the top of the pole by sliding the pole through the opening in the banner.
- Attach the banner to the base by inserting the bottom of the banner into the slot on the base.
Step 5: Adjusting the Banner
Once the banner is attached, you can adjust it to ensure that it is straight and level. To do this, follow these steps:
Adjust the height of the pole by loosening the locking mechanism and sliding the pole up or down.
- Adjust the tension of the banner by gently pulling on the banner until it is taut.
- Adjust the position of the banner by gently twisting the pole until the banner is straight.
Step 6: Securing the Banner
The final step is to secure the banner to the base. To do this, follow these steps:
- Insert the pin into the hole in the pole to lock it into place.
- Tighten the locking mechanism on the base to secure the pole in place.
- If your roll-up banner comes with a stabilizing foot, attach it to the base to provide additional stability.
Congratulations! You have successfully assembled your roll-up banner.
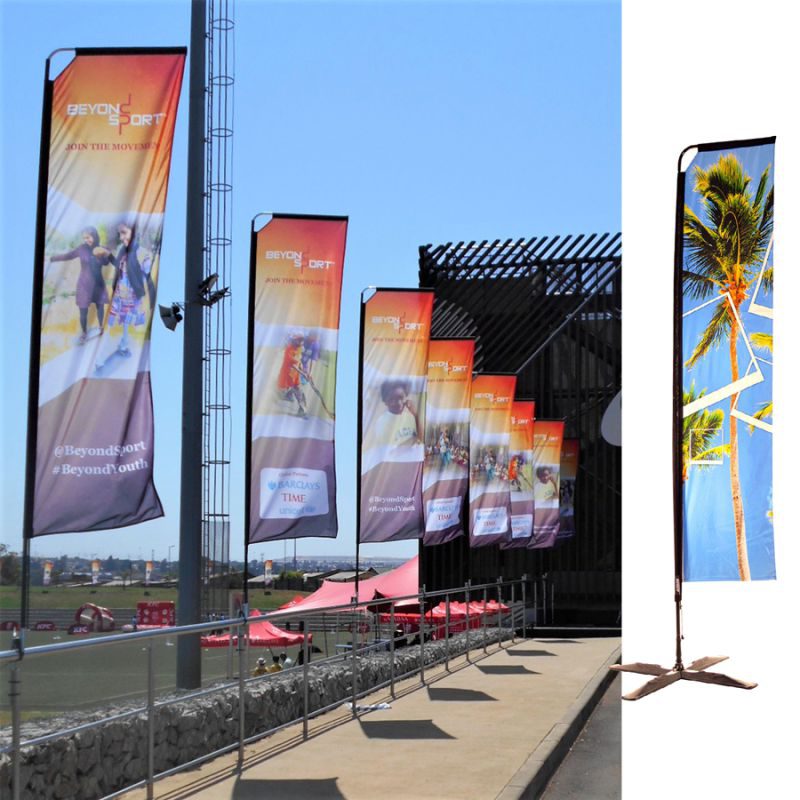
Also see Door Frame Banners, X-Banners(Spider Banners), Backdrop Banners